Your cart
There are no more items in your cart
- News
- 60 likes
- 1704 views
- 0 comments
$23.50
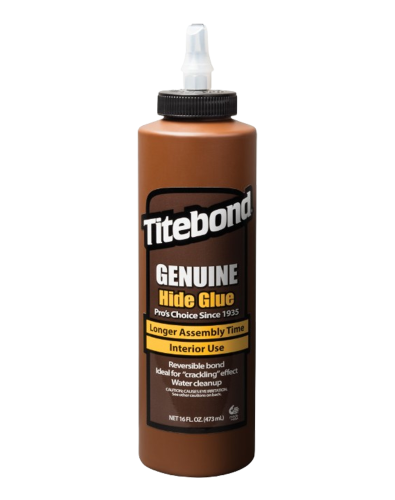
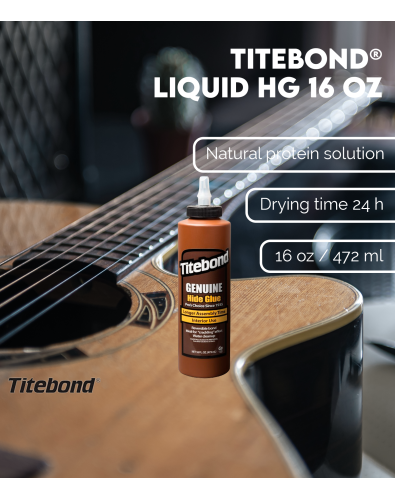
Overview Titebond® Liquid Hide Glue 16 oz:
Titebond Original is the most widely used wood glue for finished products. It provides a strong initial bond and fast setting speed to reduce clamping time. It also forms a stronger bond than wood itself, provides excellent sanding and is unaffected by finishes. It is ideal for wood and lutherie work in addition...
Out-of-Stock
$5.78
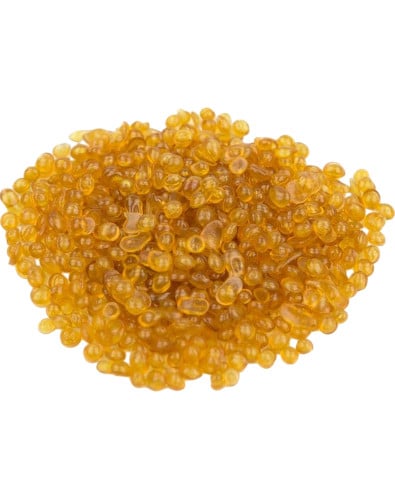
Bone Glue Pearls 100 g
Bone glue pearls are a natural animal-based adhesive derived from bovine bones. Presented in pearl form with a light brown color, it is widely used in wood restoration, traditional woodworking, and painting techniques.
Once soaked in cold water and heated in a water bath, it is applied hot and gels upon cooling. Its water...
Out-of-Stock
$15.86
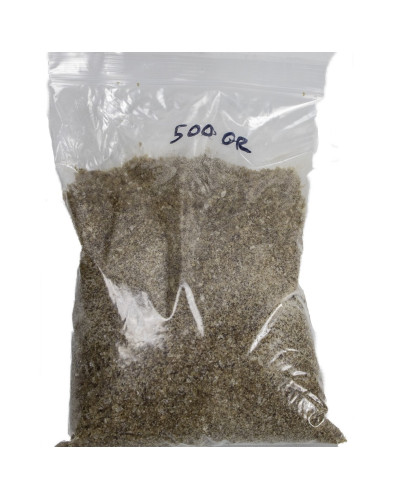
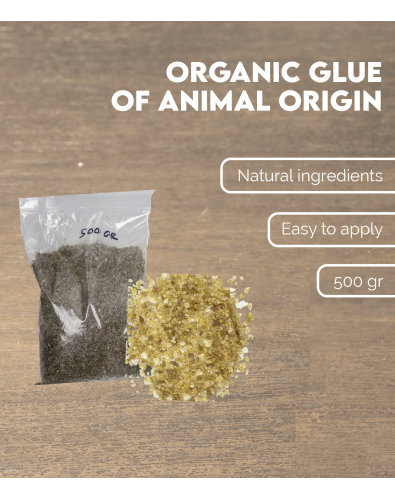
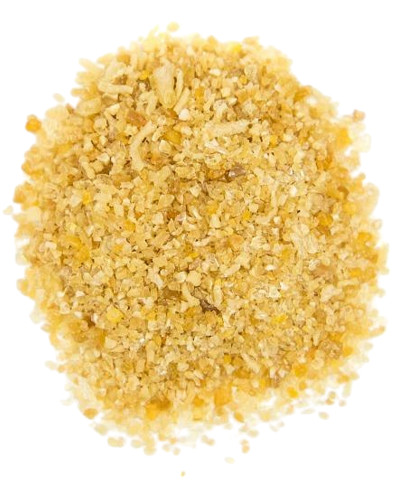
Description of Organic Glue of animal origin 500gr:
Organic Glue of animal origin 500gr is an adhesive made from animal connective tissue. It is an essential product for all luthiers and musical instrument craftsmen looking for a natural adhesive. This glue is manufactured with natural ingredients, which prevents it from being toxic. Therefore, it is...
Out-of-Stock
$5.78
Rabbit Skin Glue Fine Grind 100 g
Rabbit skin glue granules are a natural animal-based adhesive derived from rabbit hides, particularly suited for traditional priming preparations such as gesso and gilding techniques.
They come in the form of fine, light-colored granules that should be soaked in cold water and heated in a water bath for application....
$17.10
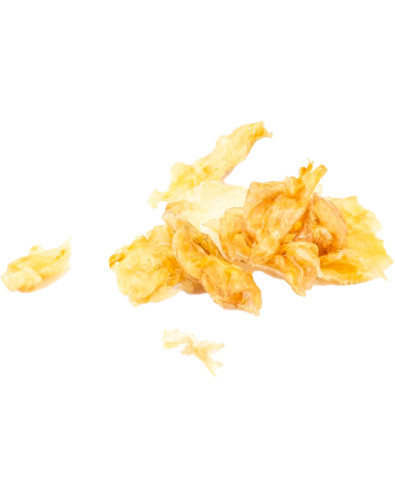
Salianski Isinglass Sheets 20 g
Isinglass is one of the purest and most transparent animal glues, obtained from the swim bladder of sturgeon. It comes in thin, semi-transparent sheets, here offered in 20 g packs, ready for preparation. This variety is the renowned Salianski grade, historically valued for high-end restoration and lutherie.
In lutherie...
$9.33
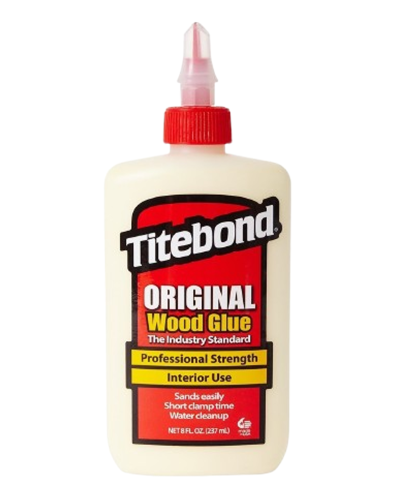
Overview Titebond® Original 8 oz:
Titebond Original is the most widely used wood glue for finished products. It provides a strong initial bond and fast setting speed to reduce clamping time. It also forms a stronger bond than wood itself, provides excellent sanding and is unaffected by finishes. It is ideal for wood and lutherie work in addition to...
$12.68
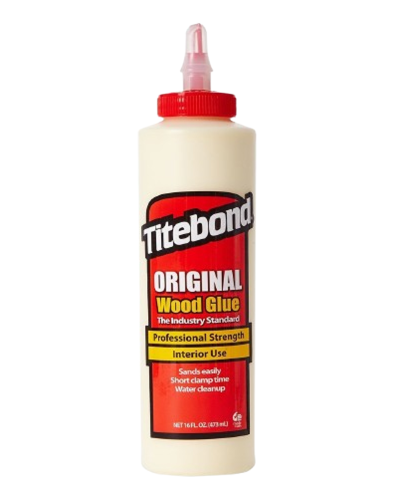
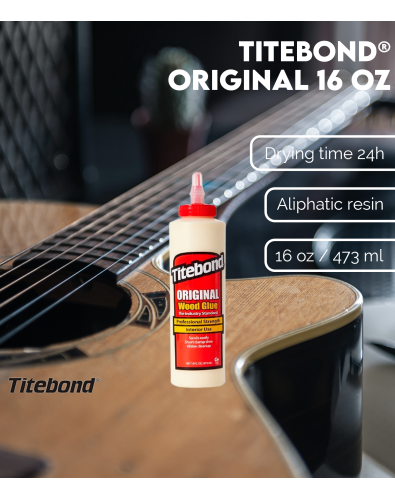
Overview Titebond® Original 16 oz:
Titebond Original is the most widely used wood glue for finished products. It provides a strong initial bond and fast setting speed to reduce clamping time. It also forms a stronger bond than wood itself, provides excellent sanding and is unaffected by finishes. It is ideal for wood and lutherie work in addition to...
$19.52
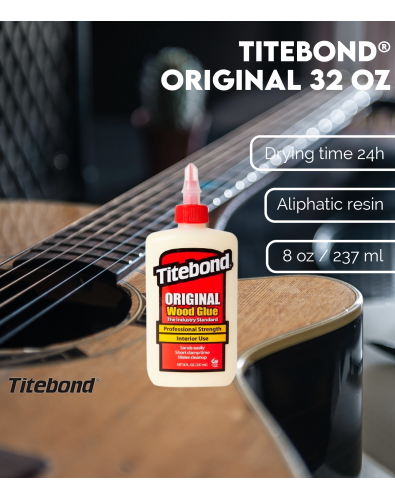
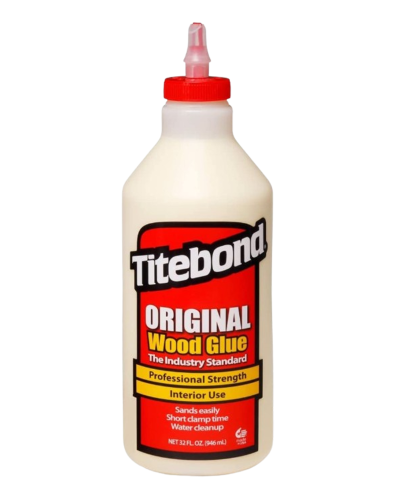
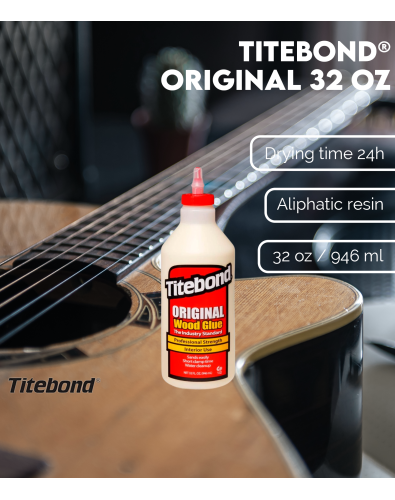
Overview Titebond® Original 32 oz:
Titebond Original is the most widely used wood glue for finished products. It provides a strong initial bond and fast setting speed to reduce clamping time. It also forms a stronger bond than wood itself, provides excellent sanding and is unaffected by finishes. It is ideal for wood and lutherie work in addition to...
$52.23
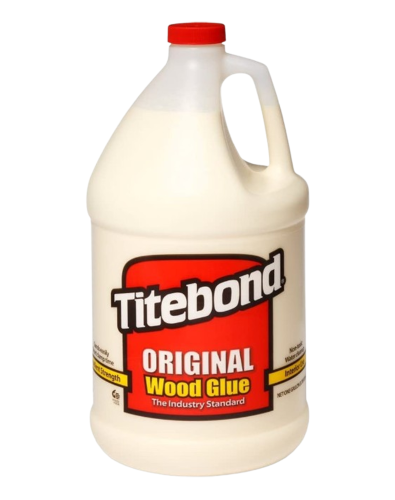
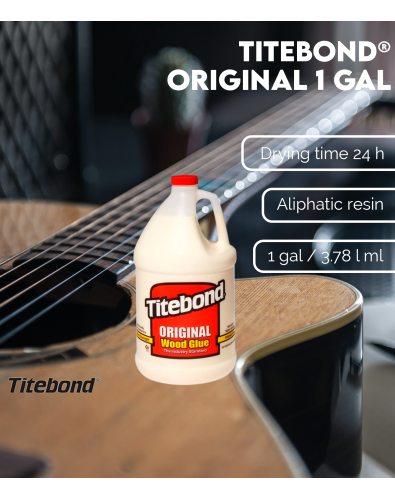
Overview Titebond® Original 1 gal:
Titebond Original is the most widely used wood glue for finished products. It provides a strong initial bond and fast setting speed to reduce clamping time. It also forms a stronger bond than wood itself, provides excellent sanding and is unaffected by finishes. It is ideal for wood and lutherie work in addition to...

$249.95
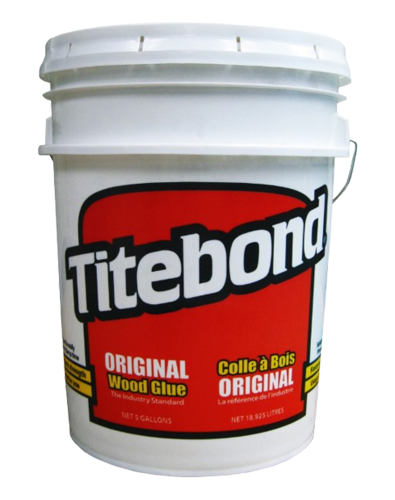
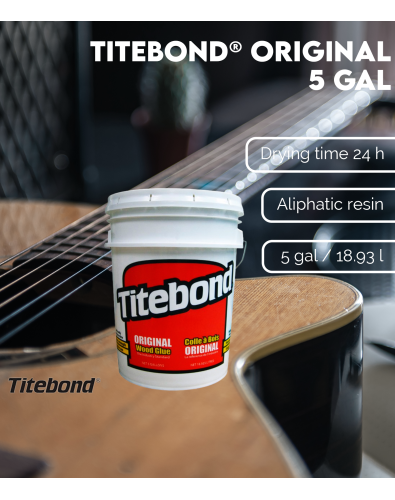
Overview Titebond® Original 5 gal:
Titebond Original is the most widely used wood glue for finished products. It provides a strong initial bond and fast setting speed to reduce clamping time. It also forms a stronger bond than wood itself, provides excellent sanding and is unaffected by finishes. It is ideal for wood and lutherie work in addition to...

$32.33
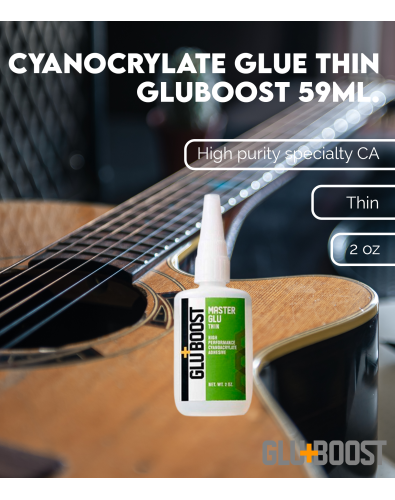
Super Strong, Super Fresh, and Ultra Clear! MasterGlu adhesives make your builds and repairs unbeatable every single time! Guaranteed Fresh and Carcinogen Free!
MasterGlu Thin, is absolutely the best specially formulated thin CA adhesive around. While using less product and cutting your work time by hours, MasterGlu Thin both wicks and wets, so more...
$19.65
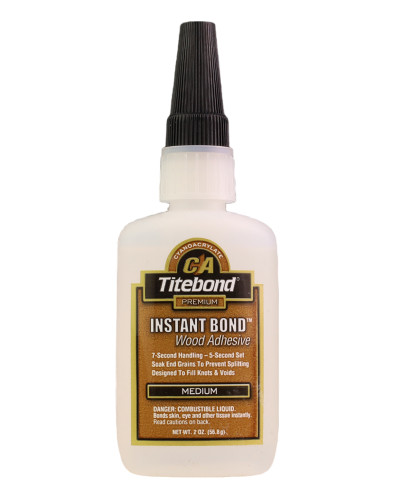
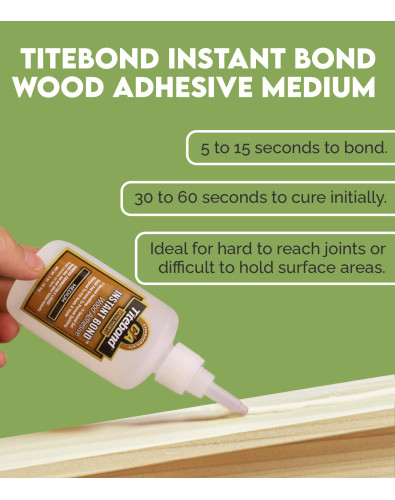
Description of Titebond Instant Bond Wood Cyanoacrylate Medium 2 Oz
Titebond Instant Bond is an adhesive that takes 5 to 15 seconds to bond and 30 to 60 seconds to cure initially. It provides a strong, permanent bond and is ideal for hard to reach joints or difficult to hold surface areas.Designed primarily for wood and wood products, this adhesive is...
$23.94
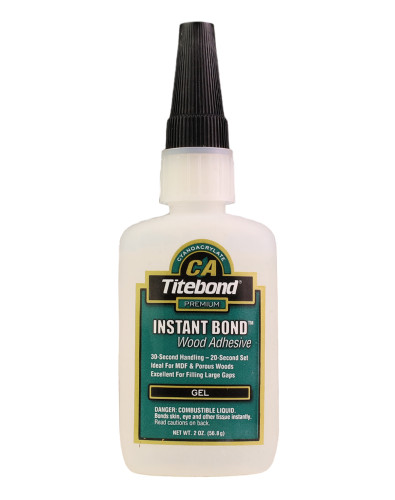
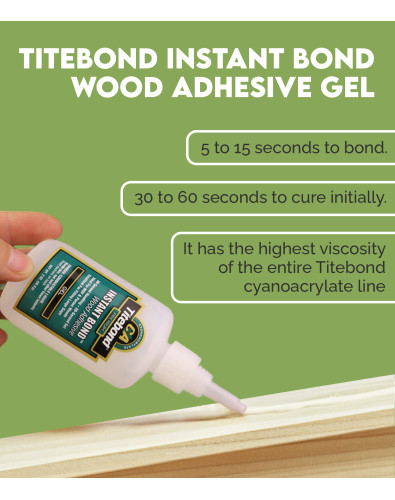
Description of Titebond Instant Bond Wood Cyanoacrylate Gel 2 Oz
Titebond® Instant Bond Gel Cyanoacrylate 2 oz is an extremely powerful adhesive, that takes 5 to 15 seconds to bond and 30 to 60 seconds to cure initially, perfect for a multitude of needs in your workshop. It provides a strong, permanent bond. Although designed primarily for wood and...
$8.58
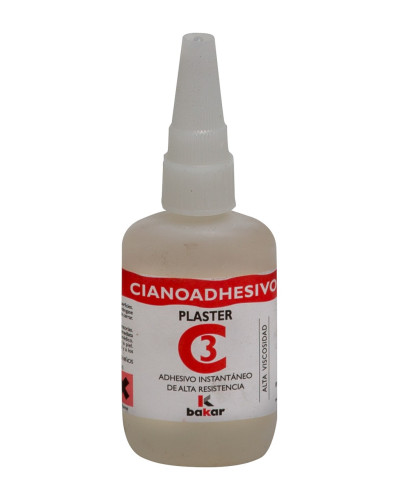
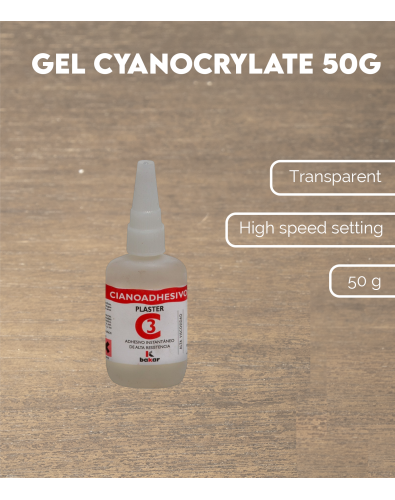
Color: Transparent
Total Assembly Time with acelerator: 5 seconds
Total Assembly Time: 5 to 35 seconds
Storage Life: 12 moths at 5ºC
Description: Designed for joints where high speed setting is required. Its high viscosity (1500 cps) allows it to be applied in complicated positions and porous materials such as wood.
$15.54
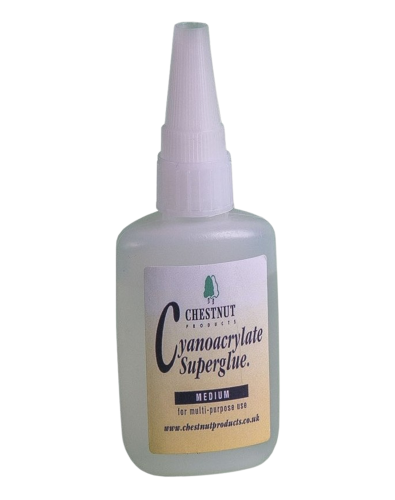
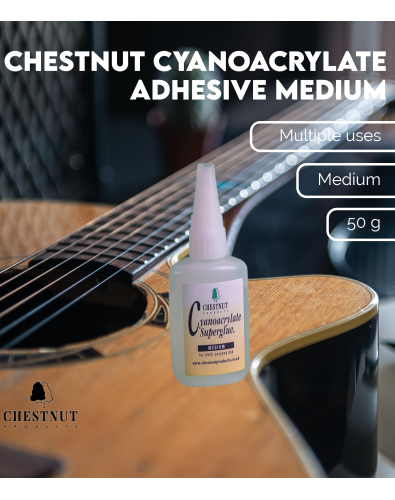
Quantity: 20gr.
Description: Cyanoacrylates (CA) have traditionally been called super glues for their adhesive properties to a wide range of different materials such as wood, plastics, china, ceramic, glass and rubber to name a few. The Chestnut instant range of CA adhesives covers many different applications. The medium version would be a more general...
$25.87
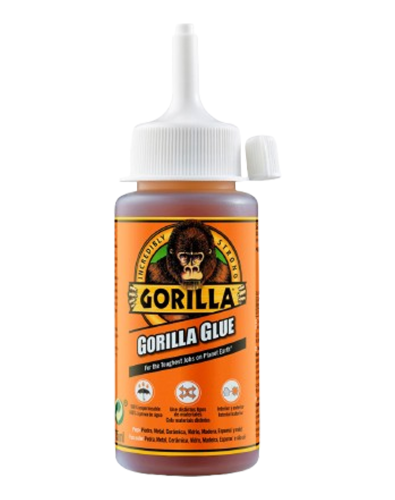
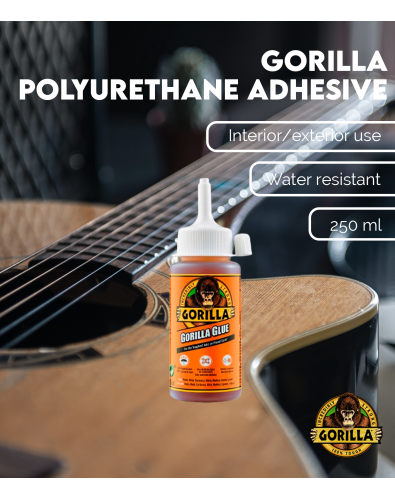
Description of Gorilla Polyurethane Adhesive 250 ml
The original Gorilla Glue, widely known for its extraordinary strength and versatility, is 100% waterproof and resistant to extreme temperatures. The water-activated polyurethane formula expands within materials to form an extremely strong bond to virtually any material, making Gorilla Glue the ideal...
$12.31
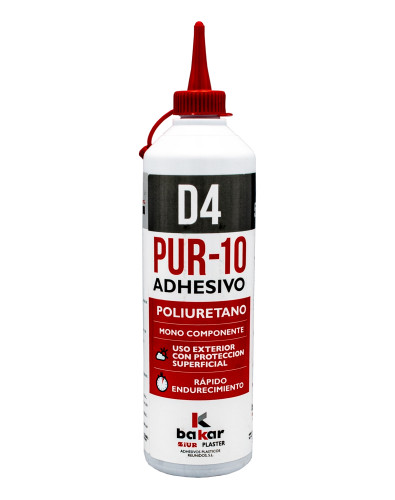
Bakar PUR-10 D4 Polyurethane Adhesive 500 g
Bakar PUR-10 is a one-component polyurethane adhesive rated D4, suitable for structural joints in lutherie when high resistance to moisture and demanding conditions is required. It cures by reacting with humidity from the air and the wood, creating a strong, durable bond.
In addition to workshop use, it is...
Comments (0)
No comments at this moment
