- News
- 20 likes
- 1643 views
- 0 comments
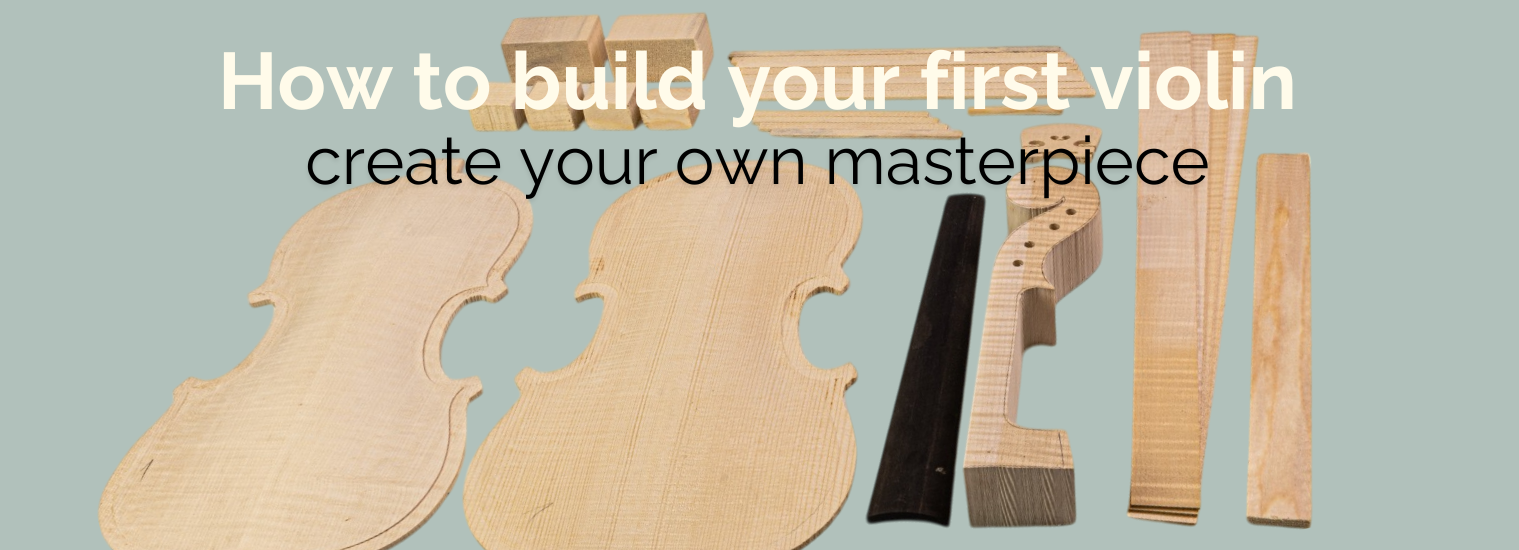
Building a violin is an exciting journey that blends creativity, skill, and patience. However, taking the first step into lutherie can be challenging, especially when it comes to selecting the right woods and setting up a fully equipped workshop. At Maderas Barber, we understand these difficulties and want to offer you some tips to simplify the process and ensure professional-quality results.
The challenges of building your first violin
When you start in lutherie, crafting your first violin involves overcoming various challenges that will test both your skills and patience. Here are some of the most common hurdles:
- Selecting the right woods
Choosing the right wood is crucial for the violin’s acoustic quality. Each type of wood has unique properties that can be difficult to evaluate without experience, making this a recurring challenge for beginners. - Having the right tools
Lutherie requires specialized tools that can be expensive and hard to find. Additionally, learning to use them properly takes time, presenting both a financial and technical challenge for aspiring luthiers. - Creating an adapted workspace
A functional workshop with proper lighting and furniture is essential for precision work. However, organizing a comfortable and efficient workspace is a task that many beginner luthiers need to tackle to optimize their craft
Tips for building your first violin
When constructing your first violin, take the time to understand how different woods and techniques influence the instrument’s sound. Precision in every step is critical, as even small details can significantly impact the final quality.
- Choose the right wood
Select high-quality maple and spruce that are well-cured, dry, and free of cracks to maximize the instrument’s resonance. Ensure the wood has a straight and even grain for stability and an aesthetic finish. Avoid chemically treated or overly moist woods, as they can negatively affect sound and durability.
- Know your tools
Familiarize yourself with each tool by learning how to adjust and maintain them in optimal condition. Practice with chisels and planes to achieve precise cuts and fine details. Regularly clean and sharpen your tools to avoid imperfections and ease your workflow.
- Use a good mold
Ensure the mold is perfectly leveled and aligned to prevent assembly deformations. A well-designed mold facilitates piece adjustments and guarantees a symmetrical, professional build. You might also consider using traditional templates from renowned violins for better results.
- Carefully adjust thickness
Use a precision caliper to measure each section and ensure uniform thickness. Work gradually, sanding and checking constantly to avoid irreversible mistakes. Remember that thickness directly affects the sound projection and overall tonal quality.
- Apply varnish correctly
Apply several thin layers of varnish, allowing each to dry before proceeding, for a smooth and even finish. Choose varnishes that complement the instrument’s tonal characteristics while providing durable protection. Avoid thick layers, as they may interfere with the wood’s natural vibration.
The solution: our three violin construction kits
To help you overcome these obstacles, we’ve developed three kits tailored to different experience levels and needs.
- Ready to Go Kit
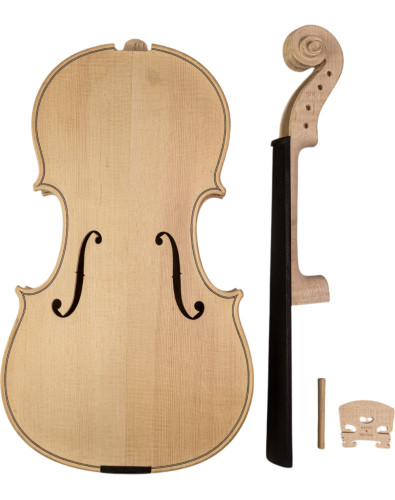
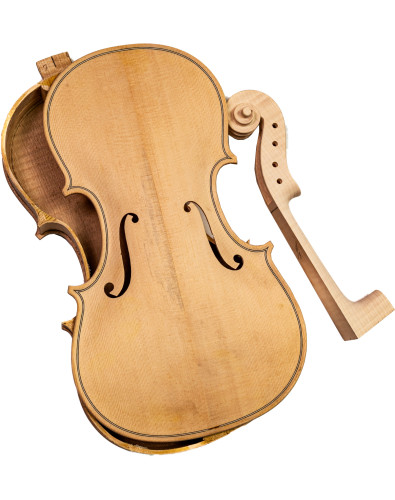
This kit is designed for those who want to focus on the final adjustments. It includes a fully finished body with sanded ribs, rounded edges, and professional purfling. The f-holes and neck are ready, leaving only the final fitting to adjust the tension and optimize the violin’s acoustic properties. Almost ready to assemble! - Amator Set Kit
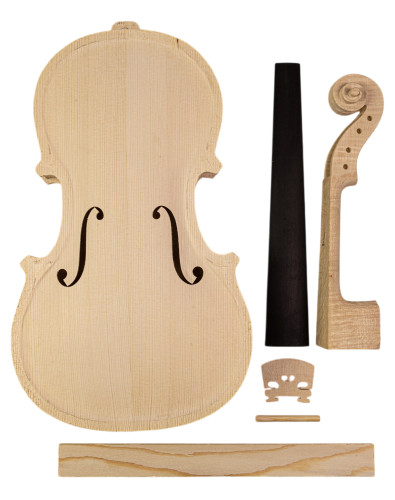
Perfect for those looking to balance craftsmanship and customization. The violin body is assembled but unfinished, allowing for thickness adjustments and acoustic modifications. It includes the bridge, soundpost, and other key components to complete the instrument. - Basic Raw Set Kit
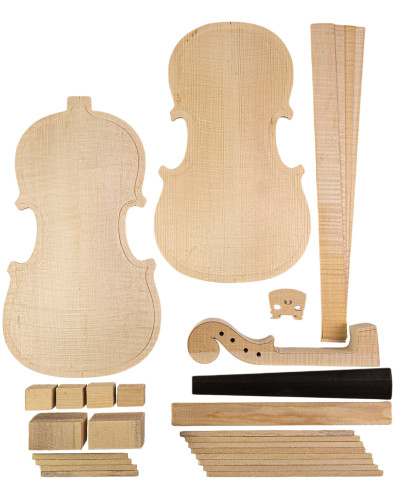
Ideal for those who want to experience the entire process from scratch. This kit includes all essential parts, such as the back, top, blocks, and calibrated ribs. While it requires more time and basic tools, it’s an excellent choice for honing your skills and personalizing every detail of the violin.
These kits are an excellent alternative to mass-produced instruments and a perfect opportunity to learn or refine your skills as a luthier.
Recommended tools for assembly
Here are some tools that a luthier might need when working with our kits. Each professional has their own approach and may require additional or alternative tools depending on their preferences and experience. If you need advice on which tools to choose or how to use them, we’re happy to assist.
To facilitate the assembly of these kits, we recommend the following tools available in our catalog:
.png)
Pfeil Nr.1 Luthier Gouge (30mm)
Ideal for roughing and flat surfaces.
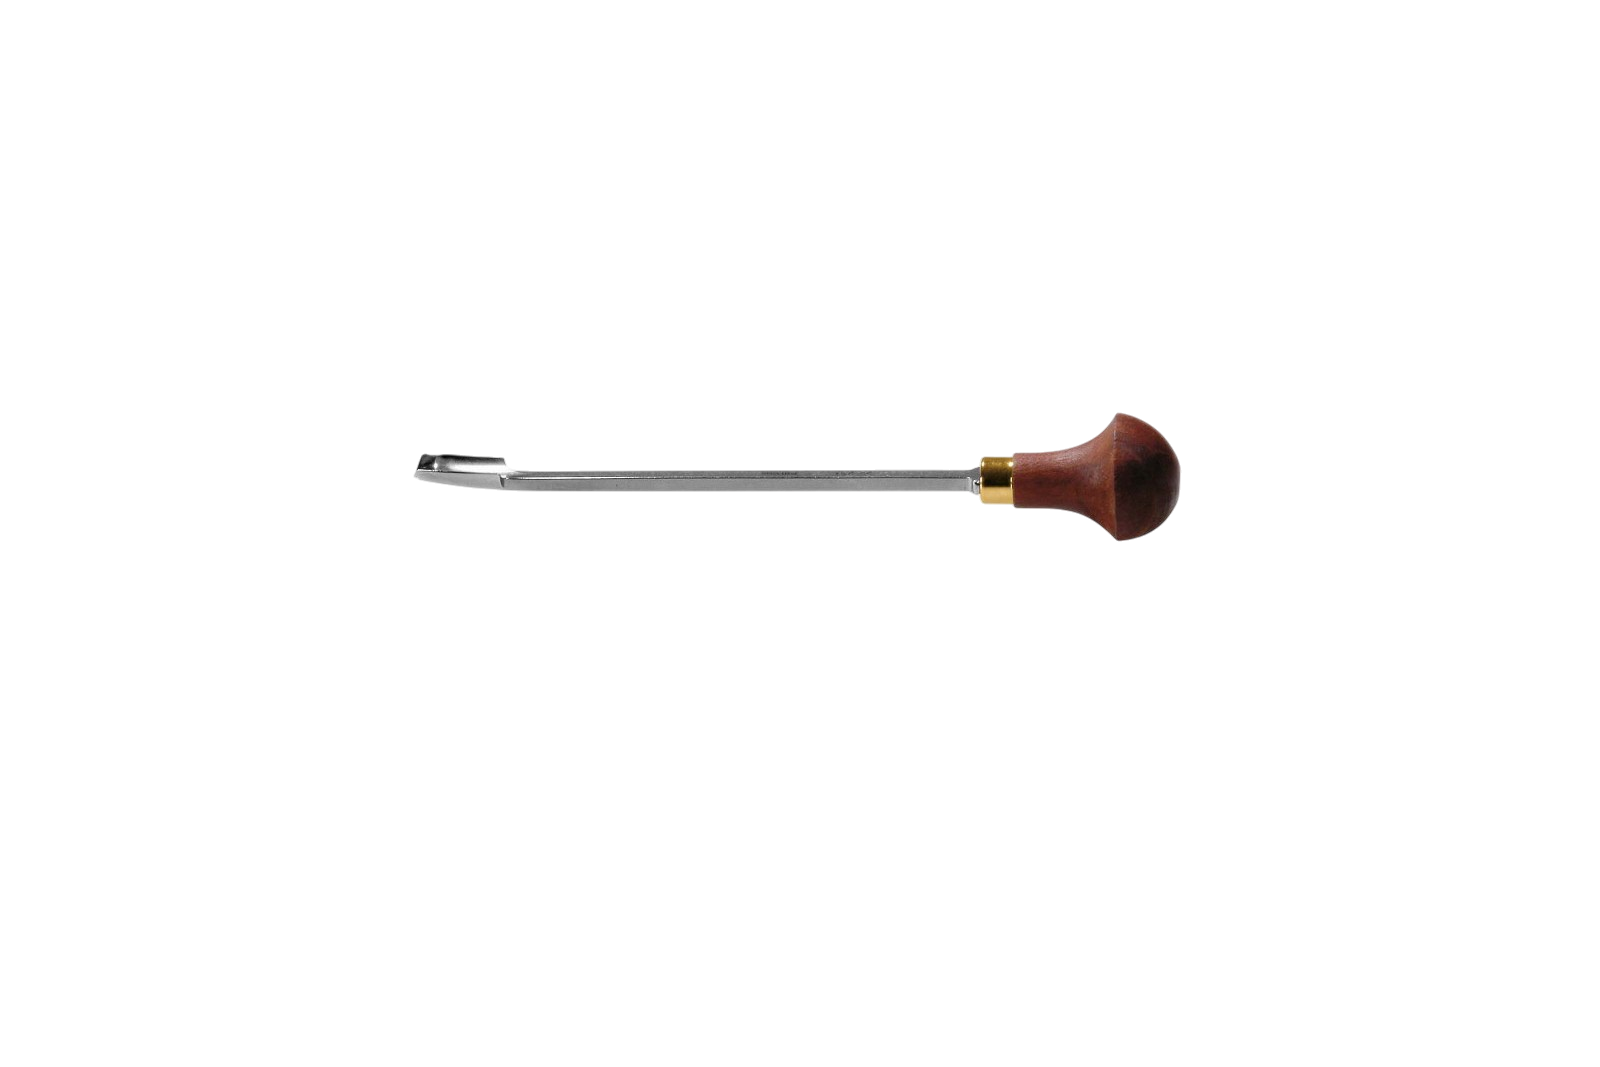
Pfeil Nr.2 Luthier Gouge (17 mm)
Suitable for shaping and intermediate details.
.jpg)
Pfeil Nr.3 Luthier Gouge (12 mm)
Perfect for precision work and fine details.
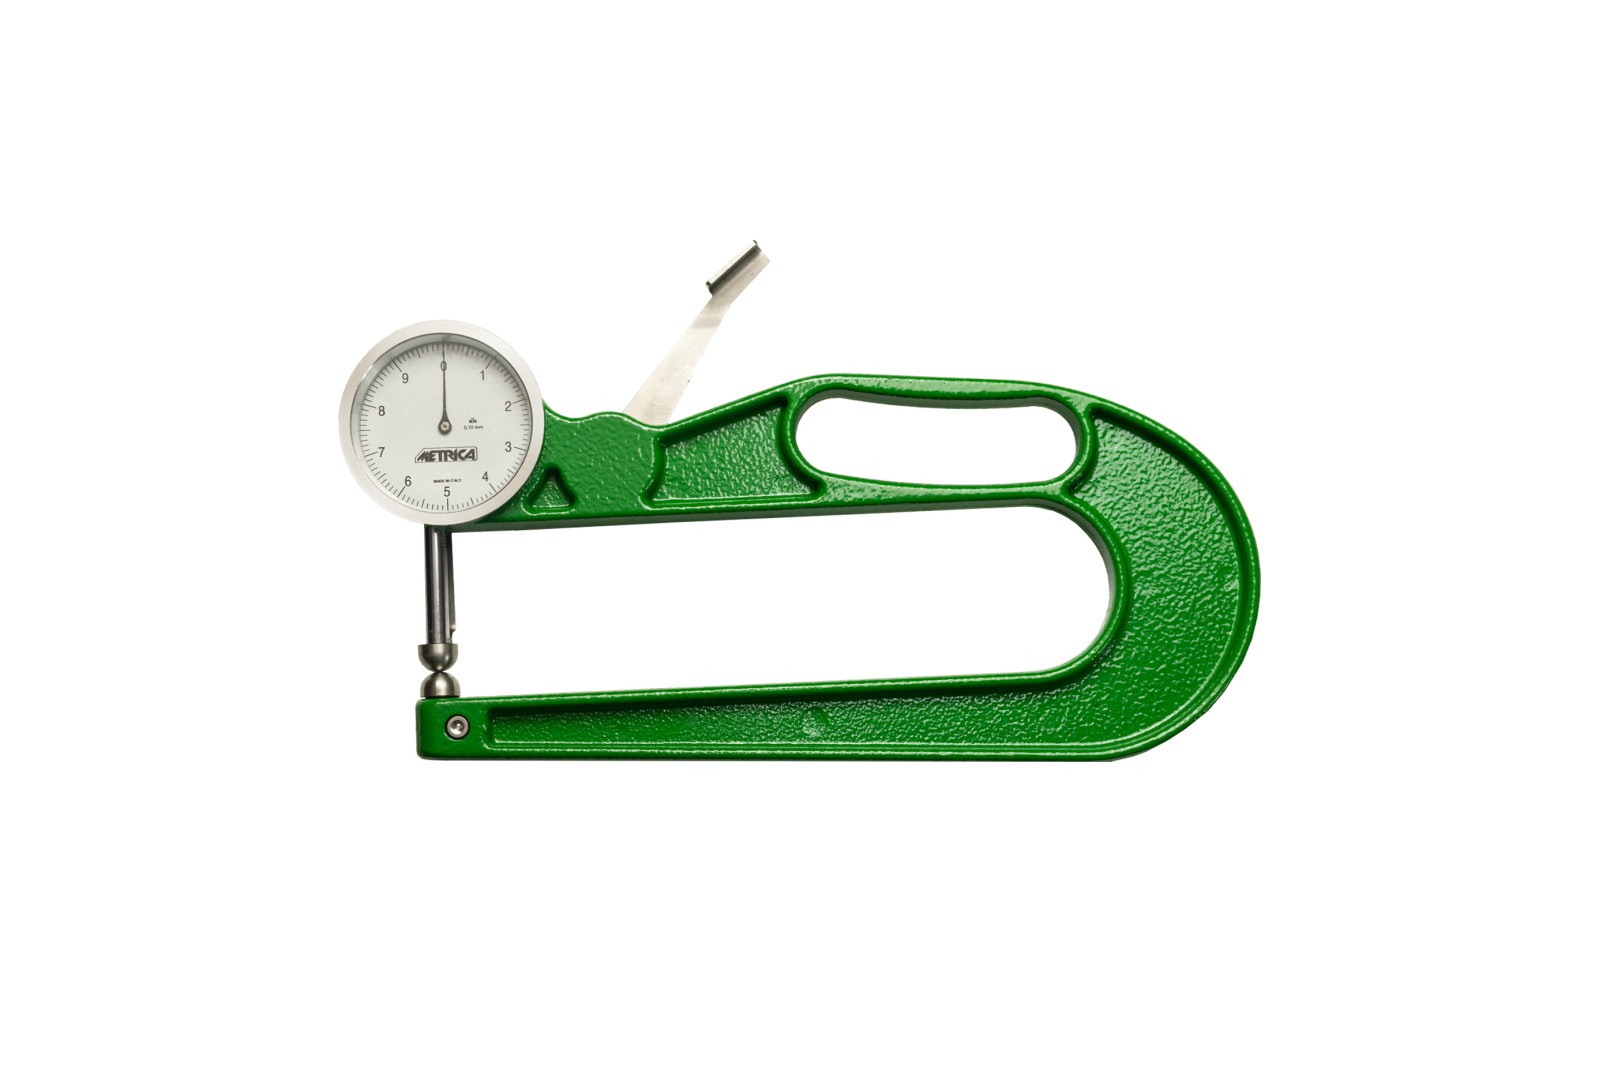
Dial Thickness Metrica
A precise and robust tool for measuring thickness across the violin’s components.
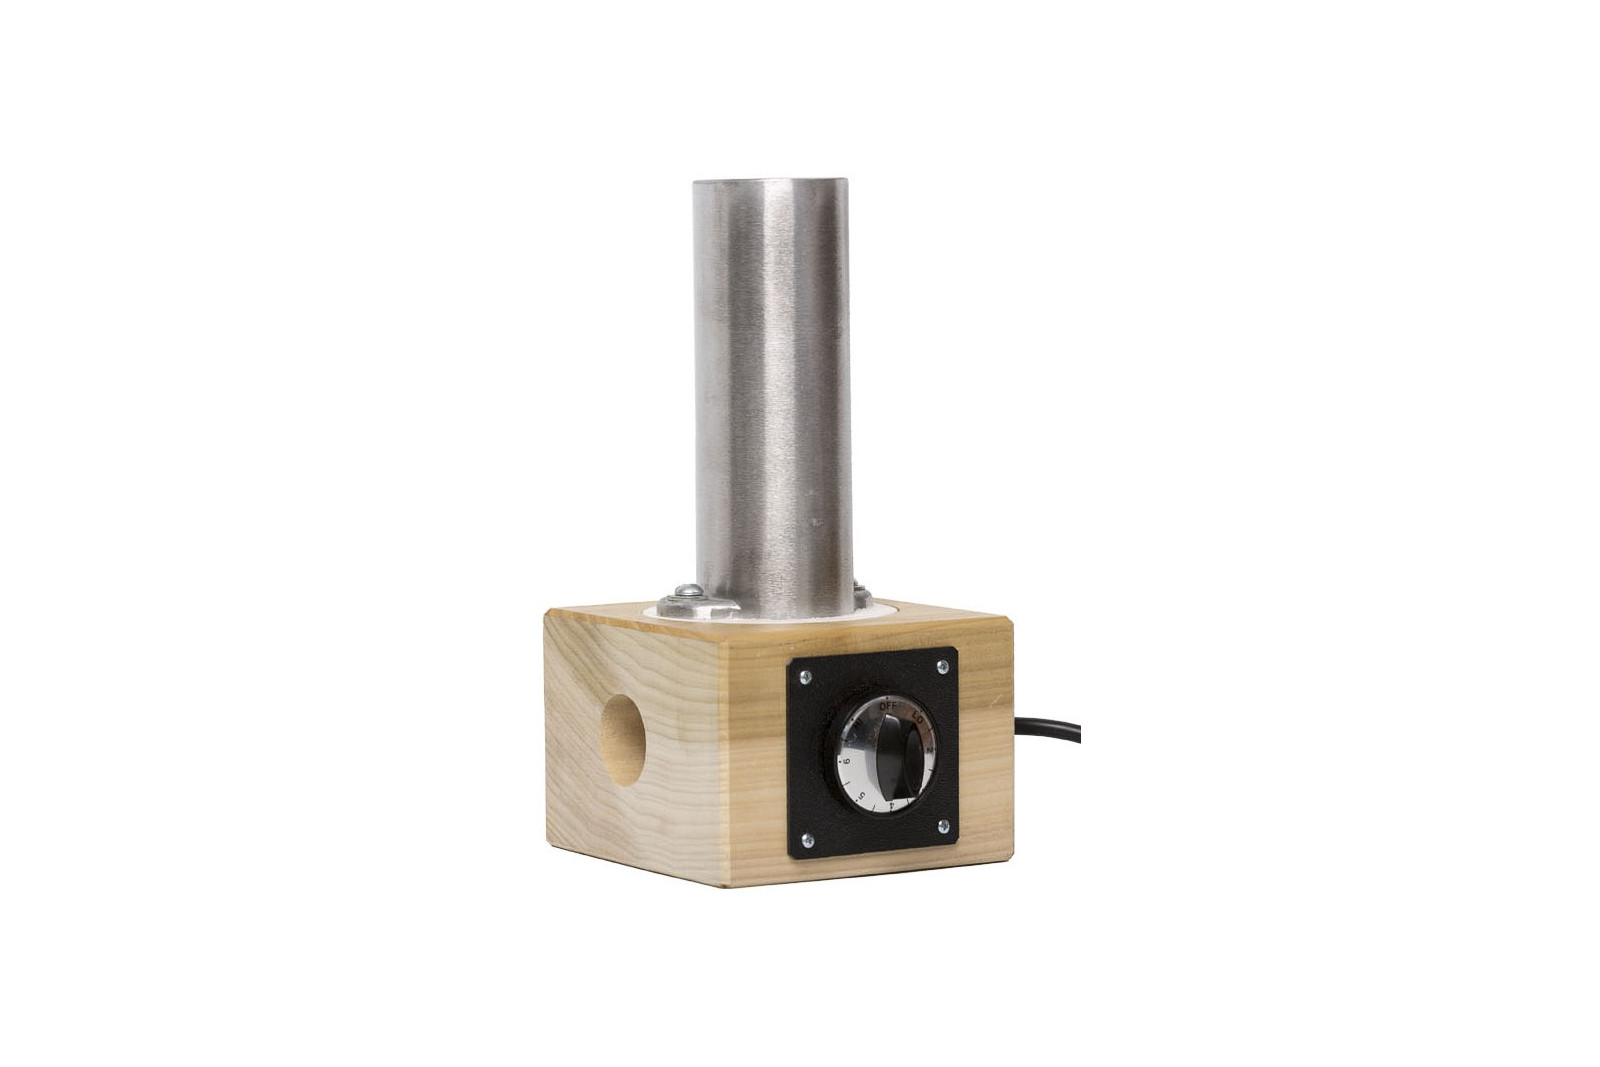
Prof Bending Iron
Designed to shape violin ribs with precision.

OldWood Finishing Products
High-quality varnishes and dyes for a professional finish.
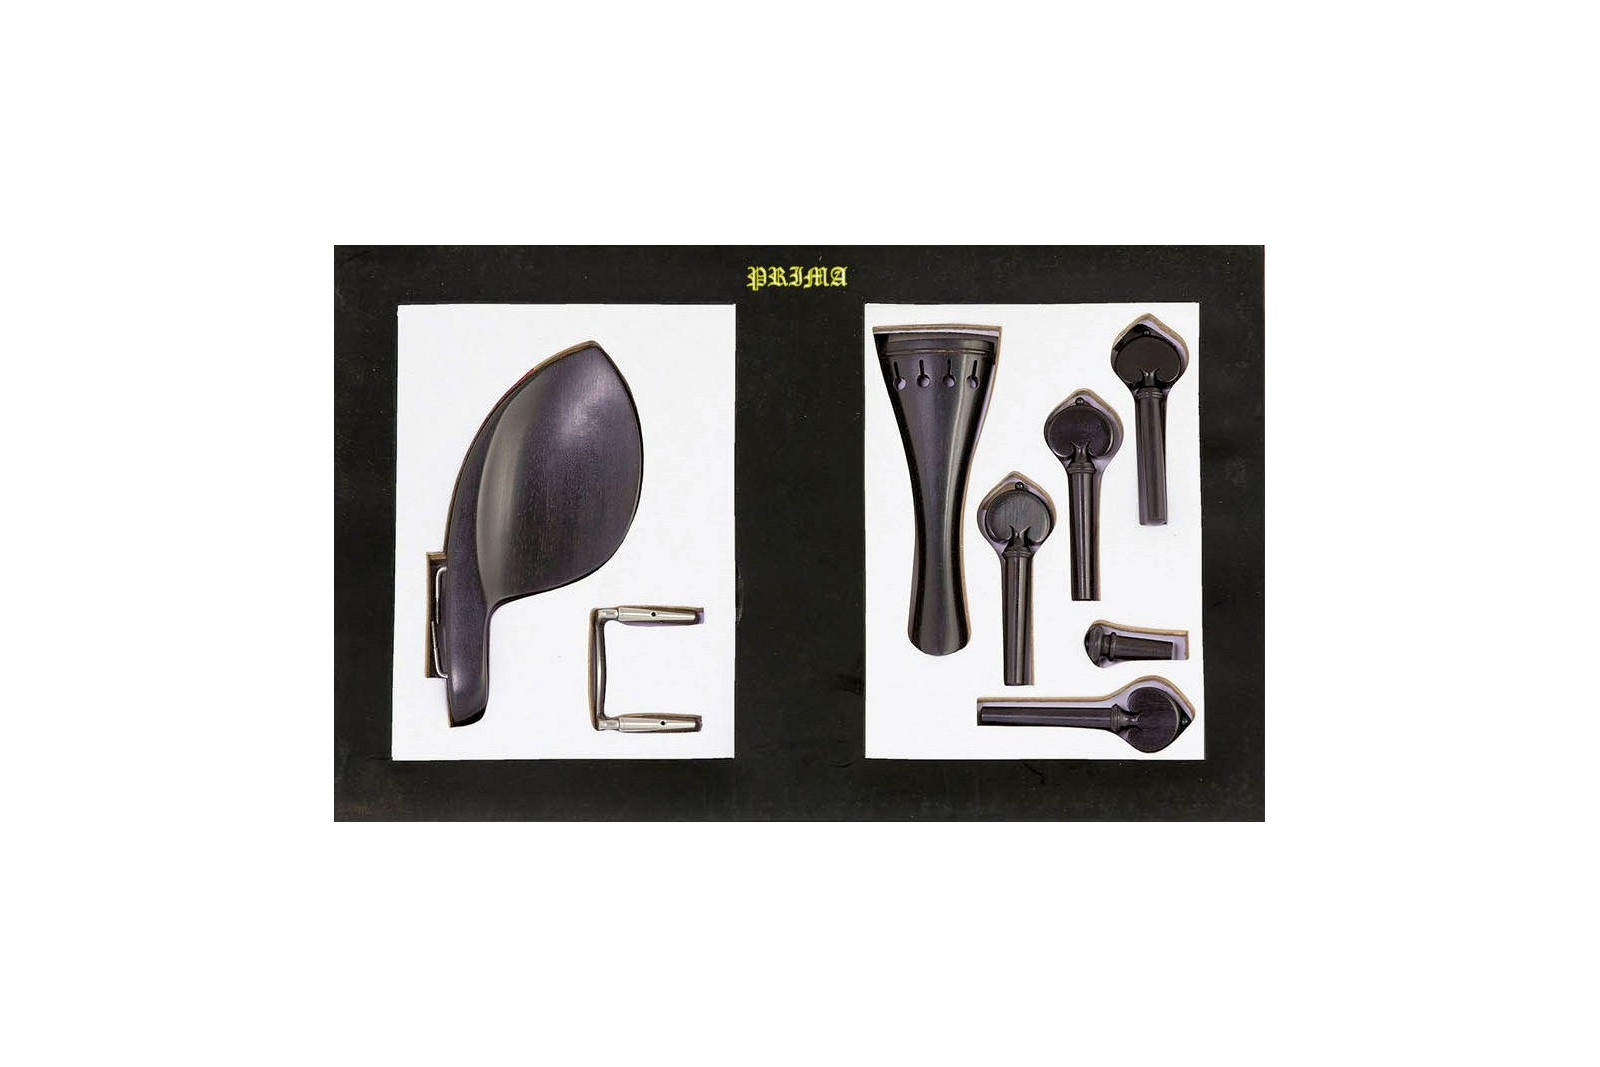
Ebony Violin Accessories Prima Set
Ebony chinrest, pegs, tailpiece, and endpin.
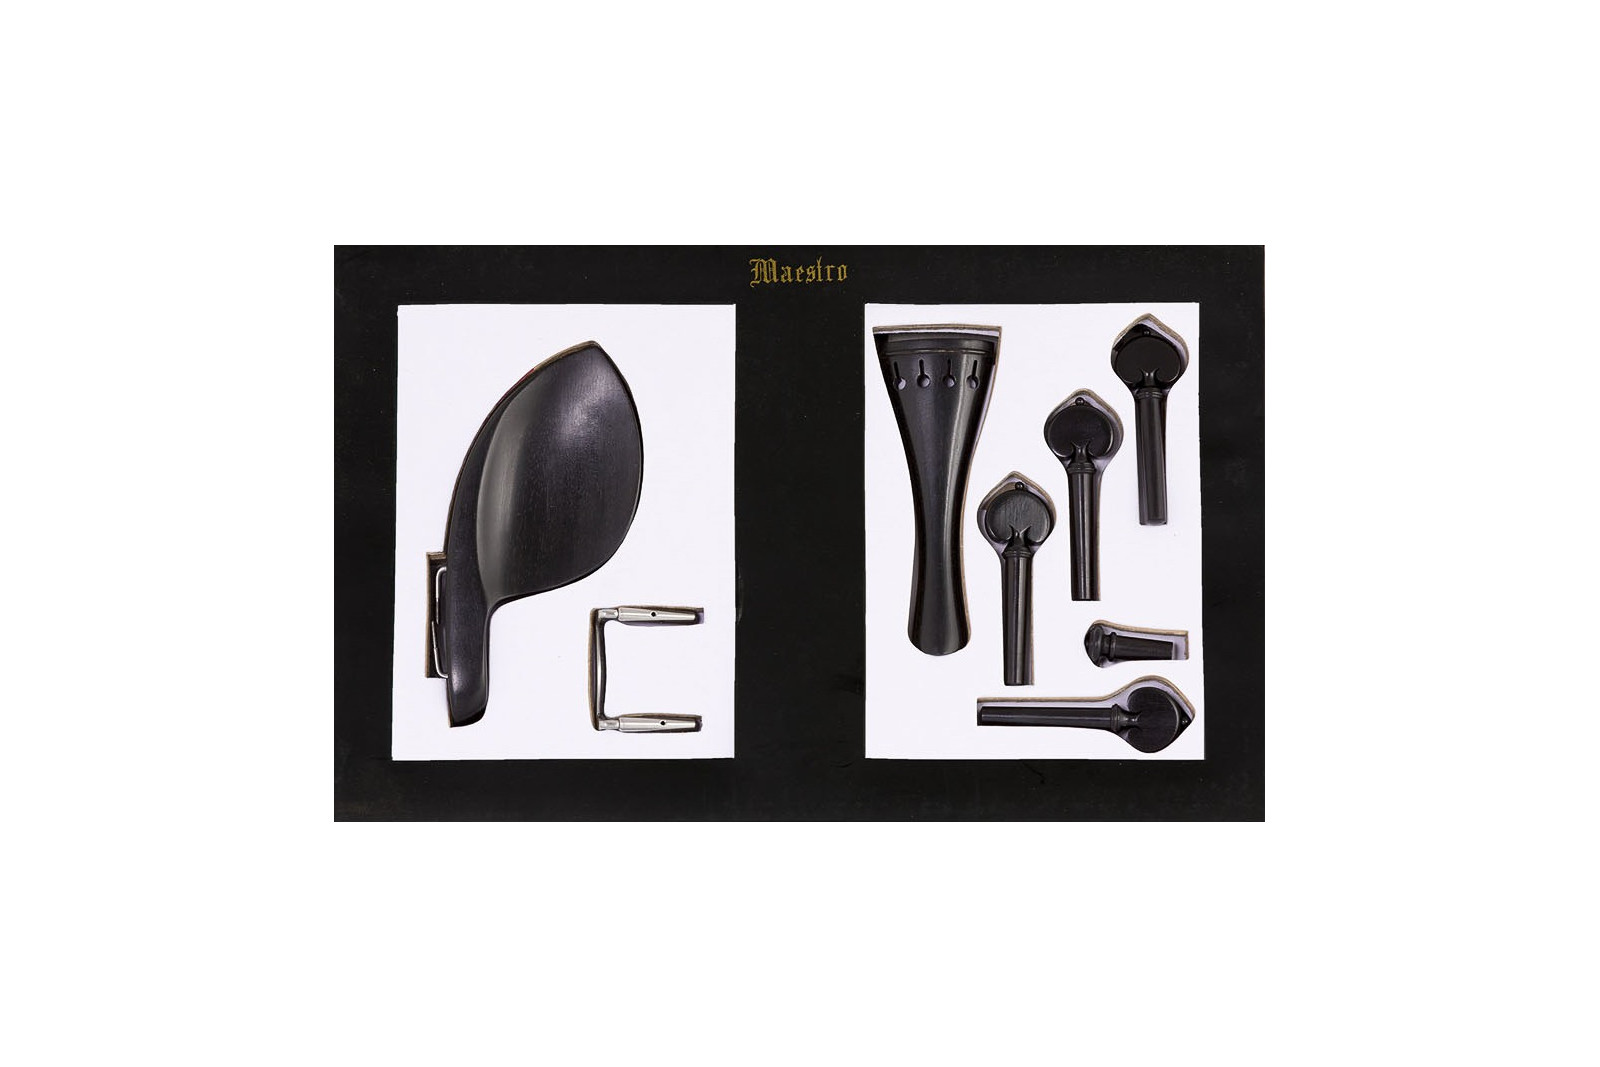
Ebony Violin Accessories Maestro Set
High-quality ebony chinrest, pegs, tailpiece, and endpin.
These tools and accessories not only make the assembly process easier but also ensure a high-quality final result. Remember, it’s better to invest in a few high-quality tools than many lower-grade ones, as precision and durability in your tools will make all the difference in your violin-building journey.
Designed for beginners and professionals
Our kits eliminate barriers such as the need for costly tools or a specialized workshop. Whether you’re taking your first steps in lutherie or are an experienced luthier looking to save time, these kits are the perfect solution. Additionally, by offering pre-selected, high-quality components, they allow you to focus on what matters most: the building process and the instrument’s perfection.
With everything you need in one package, you can start creating violins without worrying about missing materials or tools, ensuring professional results from the start.

